Homemade Reese’s Cups with Sea Salt
Highlighted under: Homemade Baking Inspiration
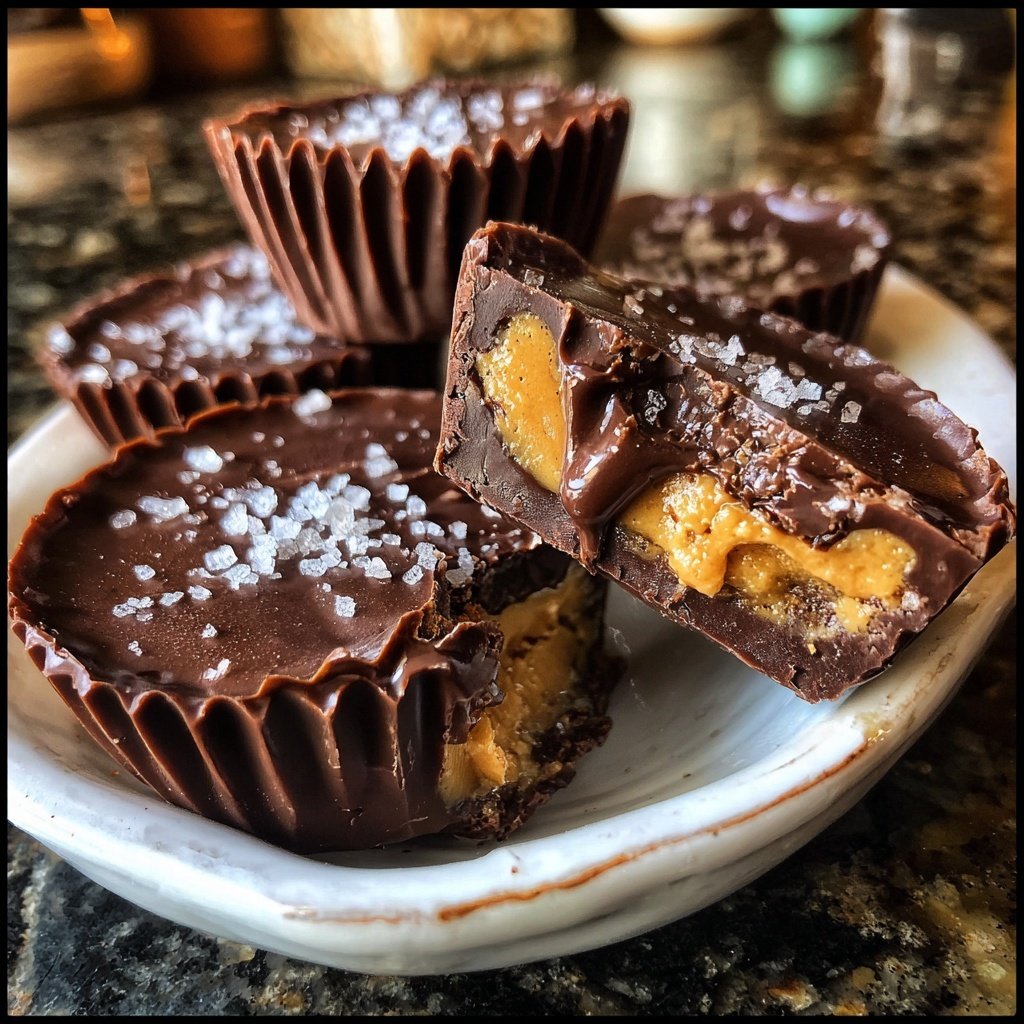
I absolutely love making Homemade Reese’s Cups with Sea Salt! There’s something so satisfying about crafting these delightful treats from scratch. With a rich combination of chocolate and creamy peanut butter, topped off with a sprinkle of sea salt, they take indulgence to the next level. The best part is that I can easily customize the sweetness to my liking and enjoy them fresher than store-bought versions. Whether I’m snacking or treating friends, these cups are always a hit and incredibly simple to whip up within minutes!
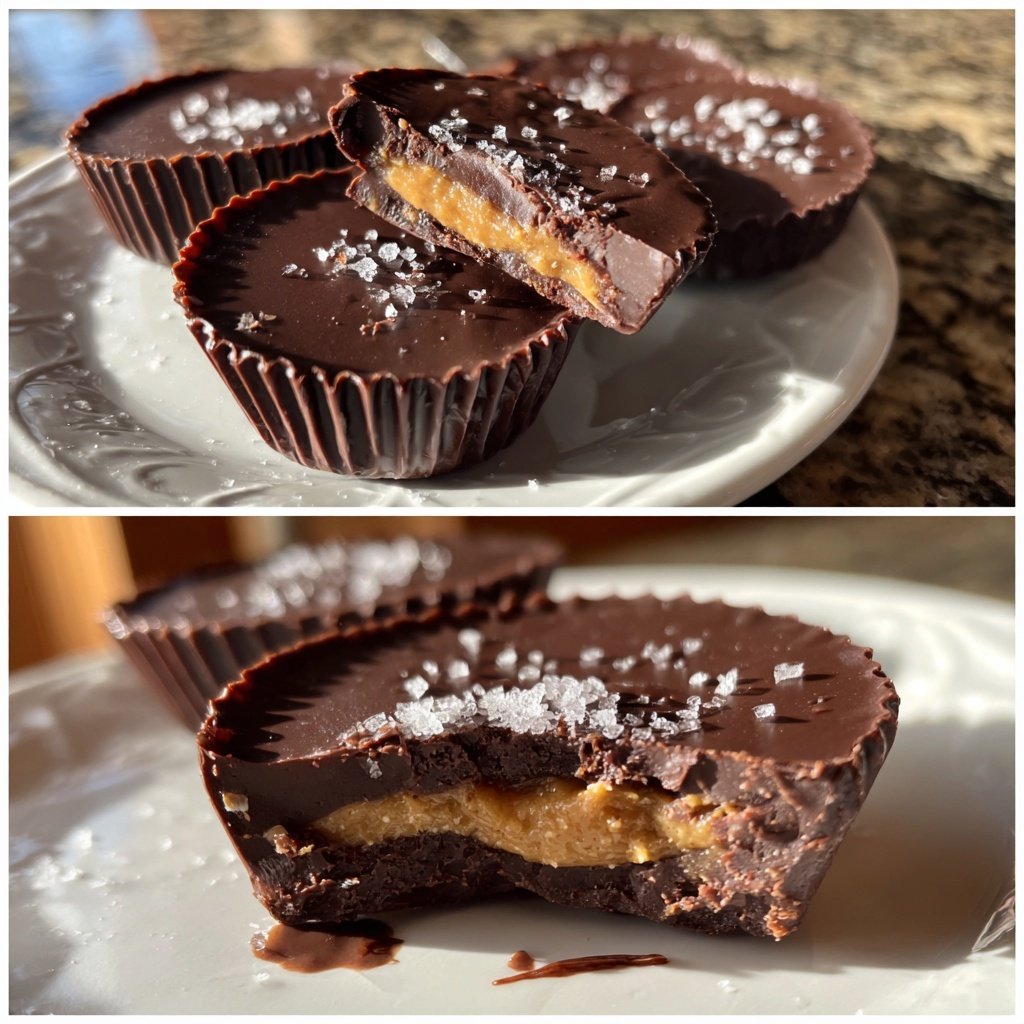
When I first decided to make Homemade Reese’s Cups, I never imagined they would be so straightforward. The secret that I discovered was in the layering; starting with a chocolate base, adding a generous dollop of peanut butter, and then sealing it with more chocolate creates that perfect indulgent bite. To enhance the flavor, I sprinkle a tiny amount of sea salt on top just before they set, offering a delightful contrast to the sweetness.
As I experimented, I found that using high-quality chocolate really makes a difference. Melting the chocolate slowly and mixing it well ensures a glossy finish, which not only looks appealing but enhances the mouthfeel. I recommend allowing them to cool completely in the fridge for the best texture. Trust me; your taste buds will thank you!
Why You'll Love These Cups
- Decadent chocolate paired with creamy peanut butter
- A touch of sea salt elevates the flavor profile
- Simple to make and perfect for sharing with friends
Perfecting Your Chocolate Layer
Achieving the right texture for your chocolate layer is crucial to the success of your homemade Reese’s Cups. It's best to use a mixture of semi-sweet and milk chocolate chips, which creates a balance between richness and sweetness. When melting your chocolate, be careful with the microwave settings; start at 30 seconds and stir thoroughly between intervals. You're looking for a smooth, glossy finish—if it starts to seize, add a teaspoon of vegetable oil to restore creaminess.
After pouring the melted chocolate into the cupcake liners, tilt the tin slightly to ensure even coverage up the sides. This creates a sturdy shell that can hold the peanut butter filling without breaking. If you find that your chocolate is too thick, briefly return it to the microwave to soften, but avoid overheating to prevent burning.
Crafting the Perfect Peanut Butter Filling
The peanut butter filling is where you can really personalize these cups. By mixing creamy peanut butter with powdered sugar and sea salt, you create a delightful blend of sweet and salty flavors. If you're looking for a nut-free alternative, consider using sunflower seed butter or a nut butter spread that has a similar creamy texture. Just be sure to adjust the sweetness to match the nut butter's flavor profile.
When adding the filling, it's essential to leave enough room for the top chocolate layer. A generous dollop will give you that satisfying peanut butter center, but be careful not to overfill, which could lead to chocolate spilling over the sides. Aim for about one tablespoon of the filling per cup; this ensures a balanced taste with each bite.
Storage and Serving Suggestions
Once your cups are fully set, they can be stored in an airtight container in the refrigerator for up to two weeks. If you want to make them ahead of time or save some for later, you can also freeze them. Simply place a layer of parchment paper in between each cup to prevent sticking, and they can last for up to three months in the freezer. Just allow them to return to room temperature before enjoying for the best texture.
These homemade Reese’s Cups are versatile when it comes to serving. They can be enjoyed as a sweet snack, paired with coffee for an indulgent dessert, or incorporated into a dessert platter for a get-together. You might even consider using different types of chocolate or flavored nut butters to create a variety pack for sharing—or keep the delightful secret of your favorite flavors all to yourself!
Ingredients
Ingredients
For the Cups
- 1 cup semi-sweet chocolate chips
- 1 cup milk chocolate chips
- 1 cup creamy peanut butter
- 1/2 cup powdered sugar
- 1/2 teaspoon sea salt
Instructions
Instructions
Melt the Chocolate
In a microwave-safe bowl, combine the semi-sweet chocolate chips and milk chocolate chips. Microwave in 30-second intervals, stirring in between, until fully melted and smooth.
Prepare the Muffin Tin
Line a muffin tin with cupcake liners. Using a spoon, pour a layer of melted chocolate into each liner until the bottom is covered.
Make the Peanut Butter Filling
In a separate bowl, mix the peanut butter, powdered sugar, and sea salt until well combined. Spoon a dollop of this mixture into each chocolate-lined cup.
Seal the Cups
Cover the peanut butter with another layer of melted chocolate, ensuring the filling is completely sealed off. Tap the tin gently to remove air bubbles.
Chill and Serve
Place the muffin tin in the refrigerator for about 20 minutes or until the chocolate is set. Remove from liners and enjoy your homemade treats!
Pro Tips
- For best results, use high-quality chocolate and allow the cups to chill completely in the refrigerator to set their structure and texture.
Key Techniques for Success
When preparing your chocolate layers, achieving a temperate melt is fundamental. If you notice your chocolate isn’t melting smoothly, it could be too hot or packed too tightly in the bowl. Utilizing a silicone spatula can help scrape down the sides for even melting, ensuring no lumps remain. Avoid using water around your chocolate, as even a tiny droplet can cause it to seize.
Keep an eye on the thickness of your chocolate; a layer that’s too thick can make biting into the cup a challenge. Conversely, a layer that's too thin could break apart. Aim for a thickness that allows for a sturdy, yet tender bite. If you’re unsure, aim for about 1/8 inch thick.
Flavor Enhancements and Variations
To elevate the flavor of your homemade Reese’s Cups, consider adding extracts like vanilla or almond to the peanut butter mixture. Just a tiny splash can add depth and complexity to the overall taste. Alternatively, for a fun twist, you can mix in crushed pretzels or crispy rice cereal into the peanut butter filling for added texture and a salty crunch.
For those who enjoy a bit of spice, a dash of cinnamon or even cayenne pepper can create an exciting flavor contrast. Start with a small amount and taste before adjusting further. These variations not only keep things interesting but also allow you to cater to different preferences when sharing with friends or family.
Questions About Recipes
→ Can I use dark chocolate instead of semi-sweet?
Absolutely! Dark chocolate will give a richer flavor and can be used based on your preference.
→ How long can I store these Reese’s Cups?
They can be stored in an airtight container in the refrigerator for up to a week.
→ Can I add other ingredients like nuts?
Yes! Feel free to add crushed nuts or even a layer of caramel for an extra indulgent touch.
→ What should I do if the chocolate is too thick?
If your chocolate hardens too quickly, you can re-melt it gently. A little bit of coconut oil can also help make it smoother when melted.
Homemade Reese’s Cups with Sea Salt
Created by: Thea Montgomery
Recipe Type: Homemade Baking Inspiration
Skill Level: Beginner
Final Quantity: 12 cups
What You'll Need
For the Cups
- 1 cup semi-sweet chocolate chips
- 1 cup milk chocolate chips
- 1 cup creamy peanut butter
- 1/2 cup powdered sugar
- 1/2 teaspoon sea salt
How-To Steps
In a microwave-safe bowl, combine the semi-sweet chocolate chips and milk chocolate chips. Microwave in 30-second intervals, stirring in between, until fully melted and smooth.
Line a muffin tin with cupcake liners. Using a spoon, pour a layer of melted chocolate into each liner until the bottom is covered.
In a separate bowl, mix the peanut butter, powdered sugar, and sea salt until well combined. Spoon a dollop of this mixture into each chocolate-lined cup.
Cover the peanut butter with another layer of melted chocolate, ensuring the filling is completely sealed off. Tap the tin gently to remove air bubbles.
Place the muffin tin in the refrigerator for about 20 minutes or until the chocolate is set. Remove from liners and enjoy your homemade treats!
Extra Tips
- For best results, use high-quality chocolate and allow the cups to chill completely in the refrigerator to set their structure and texture.
Nutritional Breakdown (Per Serving)
- Calories: 300 kcal
- Total Fat: 21g
- Saturated Fat: 7g
- Cholesterol: 0mg
- Sodium: 45mg
- Total Carbohydrates: 27g
- Dietary Fiber: 1g
- Sugars: 17g
- Protein: 6g