Mini Lemon Tartlets
Highlighted under: Homemade Baking Inspiration
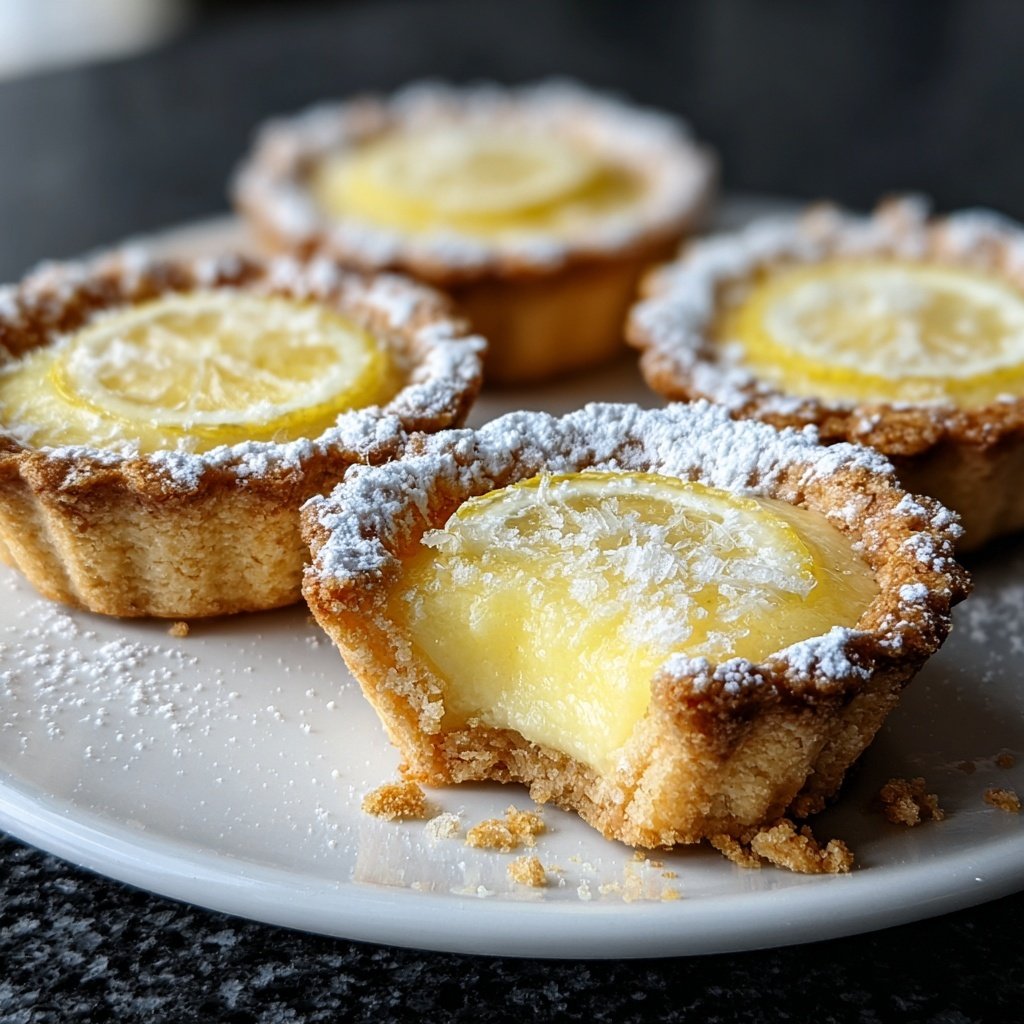
I absolutely love making Mini Lemon Tartlets—the perfect balance of tangy and sweet in a delightful little package. These bite-sized treats are not only scrumptious but also a feast for the eyes. Whenever I prepare them, I find that the zesty lemon filling paired with a buttery crust creates a refreshing dessert that’s perfect for any occasion. Plus, they’re surprisingly easy to whip up, making them a go-to recipe for gatherings or a sweet indulgence at home. Trust me, you won't be able to resist their charm!
When I first made these Mini Lemon Tartlets, I was amazed at how simple yet delicious they turned out. The combination of freshly squeezed lemon juice and zest creates a vibrant filling that stands out beautifully against the flaky crust. I also found that chilling them in the fridge for just an hour enhances their flavor, allowing the tartness to mellow perfectly.
One little trick I’ve learned is to not skip the butter in the crust; it’s essential for achieving that rich flavor and crumbly texture. Once you bite into one of these tartlets, you’ll understand why they have become a staple in my dessert repertoire!

Why You'll Love These Tartlets
- Bright and zesty lemon flavor bursting in every bite
- Delectable buttery crust that melts in your mouth
- Perfect for parties, picnics, or a sweet ending to a family meal
Crafting the Perfect Crust
The crust of your Mini Lemon Tartlets is crucial to achieving that perfect balance of textures. Utilizing unsalted butter ensures you have complete control over the salt levels in your recipe. Make sure your butter is softened but not melted, as this can disrupt the crust's structure. When cutting in the butter, aim for a sandy consistency. This will create a tender base that beautifully contrasts with the lemon filling.
Refrigerating the dough for 30 minutes not only helps develop flavor but also prevents shrinkage during baking. If you notice the crusts puffing up while baking, simply prick the bases with a fork more thoroughly next time. This technique, known as docking, allows steam to escape and ensures a perfectly flat base for your tartlets.
Mastering the Lemon Filling
It's essential to balance the sweetness of the granulated sugar with the tartness of the lemon juice. Taste your filling mixture before pouring it into the crusts. If it leans too sweet, a teaspoon of additional lemon juice can enhance the tangy flavor without overwhelming the base. Remember to use fresh lemons rather than bottled juice for the best flavor.
Whisk the filling until it's completely smooth and glossy; this will ensure even cooking. If you see any lumps, strain the mixture through a fine-mesh sieve before filling the tartlet shells. This precaution helps achieve that desirable silky texture, enhancing the overall experience of each bite.
Serving and Storage Tips
These Mini Lemon Tartlets can be made ahead of time, making them perfect for gatherings. They can be stored in an airtight container in the refrigerator for up to 3 days. For serving, let them sit at room temperature for about 10-15 minutes to allow the filling to soften slightly, enhancing flavor and texture.
For a delightful twist, consider topping your tartlets with a dollop of whipped cream or a sprinkle of fresh berries. Not only do these additions enhance the visual appeal, but they also introduce new flavors that complement the tartness of the lemon. If you're feeling adventurous, you can incorporate different citrus fruits into the filling, such as lime or orange, for a unique flavor profile.
Ingredients
Gather these ingredients to get started on your Mini Lemon Tartlets:
Ingredients
- 1 cup all-purpose flour
- 1/2 cup unsalted butter, softened
- 1/4 cup powdered sugar
- 1 large egg yolk
- 1/4 teaspoon salt
- 1/2 cup granulated sugar
- 1/4 cup fresh lemon juice
- 1 tablespoon lemon zest
- 2 large eggs
- 1/4 teaspoon baking powder
Make sure all ingredients are at room temperature for the best results.
Instructions
Follow these steps to create your delicious Mini Lemon Tartlets:
Prepare the crust
In a mixing bowl, combine the flour, powdered sugar, and salt. Cut in the softened butter until the mixture resembles coarse crumbs. Mix in the egg yolk until the dough comes together. Shape it into a disc, wrap it in plastic wrap, and refrigerate for 30 minutes.
Pre-bake the crusts
Preheat your oven to 350°F (175°C). Roll out the chilled dough on a lightly floured surface and cut into circles to fit your tartlet pan. Place the circle dough into the pan and prick the bottom with a fork. Bake for 10-12 minutes or until lightly golden. Let them cool.
Make the lemon filling
In a bowl, whisk together the granulated sugar, eggs, lemon juice, lemon zest, and baking powder until smooth. Pour this mixture into the cooled tartlet shells, filling them about three-quarters full.
Bake and cool
Bake the filled tartlets for 15 minutes until the filling is set. Remove from the oven and let cool completely before serving. Optionally, dust with powdered sugar before serving.
Your Mini Lemon Tartlets are ready to serve! Enjoy these refreshing treats with friends and family.
Pro Tips
- For an extra touch, consider adding whipped cream or a fresh berry topping before serving.
Troubleshooting Common Issues
If your tartlet crusts come out too tough, consider reducing the mixing time when incorporating the butter. Overworking the dough can cause it to develop gluten, leading to a less tender texture. Aim to minimally combine the ingredients until just blended.
In the event of overflowing filling during baking, it's likely that the tartlet shells were not pre-baked long enough. Ensure they are set and lightly golden before adding the filling. If you notice this issue, note to fill the shells just three-quarters full, as the filling will puff slightly while baking.
Ingredient Variations
For a gluten-free option, substitute the all-purpose flour with a gluten-free flour blend. Just ensure it contains xanthan gum, as this will help maintain the structure of the crust. You might also consider adding a tablespoon of cornstarch to mimic the lightness that traditional flour provides.
If you're low on fresh lemons, a combination of lemon juice and a splash of orange juice can create a refreshing alternative. Just remember that the citrus content should remain roughly the same to maintain the filling's consistency and tartness.
Questions About Recipes
→ Can I use store-bought pastry for the crust?
Yes, store-bought pastry can save time, but homemade crust really enhances the flavor!
→ Can I make these tartlets in advance?
Absolutely! You can prepare the crust and filling a day ahead; just assemble and bake when ready to serve.
→ What can I do with leftover filling?
If you have leftover filling, you can pour it into a ramekin and bake it as a mini lemon custard.
→ How should I store the leftover tartlets?
Store any leftover tartlets covered in the fridge for up to 2 days to maintain their freshness.
Mini Lemon Tartlets
Created by: Thea Montgomery
Recipe Type: Homemade Baking Inspiration
Skill Level: Easy
Final Quantity: 12 tartlets
What You'll Need
Ingredients
- 1 cup all-purpose flour
- 1/2 cup unsalted butter, softened
- 1/4 cup powdered sugar
- 1 large egg yolk
- 1/4 teaspoon salt
- 1/2 cup granulated sugar
- 1/4 cup fresh lemon juice
- 1 tablespoon lemon zest
- 2 large eggs
- 1/4 teaspoon baking powder
How-To Steps
In a mixing bowl, combine the flour, powdered sugar, and salt. Cut in the softened butter until the mixture resembles coarse crumbs. Mix in the egg yolk until the dough comes together. Shape it into a disc, wrap it in plastic wrap, and refrigerate for 30 minutes.
Preheat your oven to 350°F (175°C). Roll out the chilled dough on a lightly floured surface and cut into circles to fit your tartlet pan. Place the circle dough into the pan and prick the bottom with a fork. Bake for 10-12 minutes or until lightly golden. Let them cool.
In a bowl, whisk together the granulated sugar, eggs, lemon juice, lemon zest, and baking powder until smooth. Pour this mixture into the cooled tartlet shells, filling them about three-quarters full.
Bake the filled tartlets for 15 minutes until the filling is set. Remove from the oven and let cool completely before serving. Optionally, dust with powdered sugar before serving.
Extra Tips
- For an extra touch, consider adding whipped cream or a fresh berry topping before serving.
Nutritional Breakdown (Per Serving)
- Calories: 150 kcal
- Total Fat: 9g
- Saturated Fat: 5g
- Cholesterol: 80mg
- Sodium: 50mg
- Total Carbohydrates: 16g
- Dietary Fiber: 1g
- Sugars: 9g
- Protein: 2g